Showing posts with label breyer animal creations. Show all posts

Monday, January 16, 2012

Deadlines & Publications

Binders for my Just About Horse Mags


Thirty some years Just About Horses was in publication. For seven years I was a part of that history and right around the middle of every other month I get into an automatic panic and think,

"DEADLINE!"

Today as I was pouring my morning coffee I got into a panic then remembered that I no longer had a pressing editorial deadline with Reeves International. There would be no more "how to's" for them for print (perhaps online if they need me...will announce when I am to be featured.) I love publications and paper and magazines and books and it hit me as of late, I sure miss writing for them.

I suppose in pulling out the old binders filled with the JAH's I've contributed to I decided to document the painting process of both the Mini Haggis and Indian Silver I'm currently working on for commission. My style has changed a great deal since I first started writing for JAH but the process in the beginning is pretty much the same: dust, spray with fixatives, dust, spray with fixatives and repeat till you get the desired color built on the resin. Oh and as always I must start by telling you to BE SAFE! Wear your masks at all times!
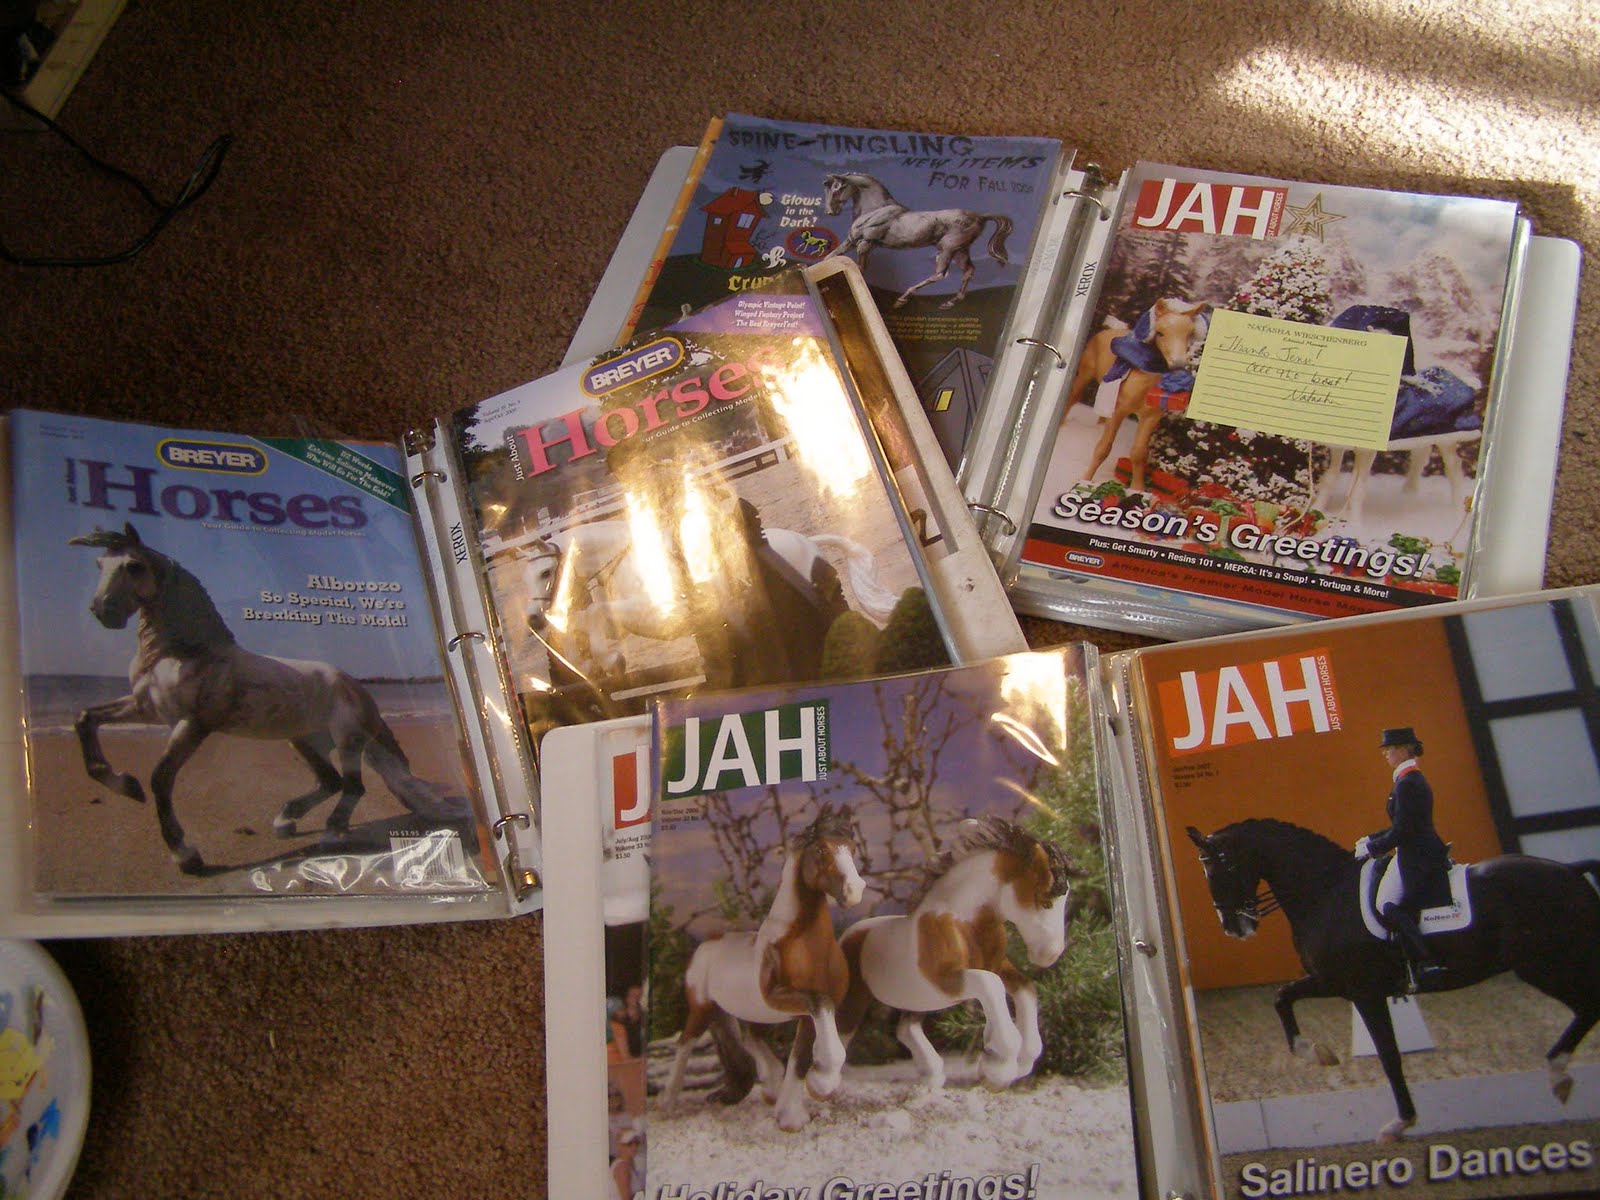
Hard to believe the mag
is no longer


So onward with two visual demos.

The Mini Haggis will be an extreme bay sabino and the Indian Silver will be a plain chestnut. Two sides to the spectrum and both difficult in their own right. The chestnut, of course, will pose the most problems and is already being true to form. It's a heavy resin and I have fingerprints all over the barrel. It's too late to fix as I sprayed the piece already. I will have to fix in the later stages, but will document how that is done. Basically, everything can be fixed. No matter how bad the damage it can all be fixed with patience, determination and of course, TLC.

Drafting table ready for
new ponies to be painted


First layers on a Mini Haggis resin


At this stage the pure pigment or crushed pastel (stick) dust is added to the prepped and primed (white) resin using a DRY paint brush. Once color is evenly distributed to the area Krylon Glossy Fixative is used to "lock" the color onto the surface. Once gloss is dry add a matte spray like Citadel or Testor's Dull Coat (which is no longer called Dull Coat but "CLEAR COAT). Let dry fully and continue to add more pigment or crushed pastel dust. Repeat the process. Both the MH and IS have received two coats of color at this stage.

First spray to adhere the pigments

First layers on an Indian Silver resin


"Love is a fruit in season at all times,
and within reach of every hand." ~Mother Teresa

Tuesday, January 10, 2012

Finishes and More Paper Delights

Finally, finishes on two pieces I've been working endlessly on. Both the pieces took a bit longer to produce because I found myself wanting to explore hair patterns a bit deeper, especially on the dappled grey. For the moment I'm fairly pleased. The bay roan will be headed to a show this Saturday and I'm excited and curious to see how she is received.

Sarah Mink's
"Sheeza Carnival" in bay roan


Breyer's "Weather Girl"
in dappled rose grey


Paper Bliss


LOL....the colors, the patterns, the bow and the patterned inside made me stop dead in my tracks at the store yesterday. I had to have it. I have no idea what I will use it for or why I needed it other than it made me smile and the blue is my favorite color blue. Put a bit of brown in with blue and I'm completely sold.

Tuesday, January 3, 2012

Don't Forget the Chestnuts

"Sheeza resin in roan.
This one had her chestnuts. Im
just showing her off a bit.


"Don't forget the chestnuts! Did you paint them?"

That's what my model horse friends and I were always saying to each other when we would either get together for our painting/pastel parties or when we would share our latest creations via online forum party with one another. There was a 50-50% chance we did forget to paint them. We said it so often to one another that it has become ritual to say it before sending a horse back to it's owner.

But what happens if the chestnuts aren't sculpted on the horse to begin with? This Weather Girl mold was missing her back chestnuts. I noticed it as I went through my check list of "to dos" before the final photo shoot. Even if the horse is complete this technique is fast and easy rendering absolutely no ill effects. All you need is Liquitex Modeling Paste, a brush, and your paints.

Missing the chestnuts


Modeling Paste dries FAST
and adheres strongly.


I only use Liquitex Modeling Paste as it has marble dust in it which seems to make it very strong. It dries fast and can be painted over in acrylics or oils.

Start by scooping out a bit of paste onto a paper palette. Close the jar up immediately. This paste dries very quick. (Also note that if you have been using it often it's best to skim down the sides, remove old or slightly drying paste, and add a bit of water to the top portion of the paste. Let the water just sit on the paste. You can always mix thoroughly when you go to use it again.) If you don't take precautions with the paste each time you use it it will dry up hard as a rock very quick. Trust me. I know. I've ruined many a jar until I worked on skimming walls with my father over the summer. Drywall buckets have to be carefully scraped and protected otherwise the bucket goes bad really fast. Realizing this fast drying issue was the same problem I've always had with my modeling paste, even when I closed the lid tight, I decided to try the drywall method and it's worked beautifully for months.

Load your paint brush with paste and then place the paste in the area you need to fix. (This paste is also excellent for those rogue resin pinholes that seem to pop up when the piece is completed.) Wash your brush out well and then wait about 10 minutes for the area to dry fully. Paint. Done!

Oh, and if you don't like the look of the chestnut or the size the paste can be picked off if it hasn't had about 24 hours to set up fully. It can also be sanded if it has set up.

Add paste with an ordinary paint brush


Finished and ready for the shoot

Sunday, July 6, 2008

Good Mail

Alborozo in progress


Before the weekend started I received two items in the mail that thrilled me. First item was a manilla containing two complimentary copies of the newest Just About Horses. I am so happy to see my original cover idea gracing the front of the magazine. There was no other idea worthy of Brigitte's gorgeous new Spanish horse, IMO. The beach, sun and the Eberl all fit together perfectly. I'm glad to see that they finally decided it did too.

The other photo shoot I worked on, after the first idea was squashed, was also gracing the pages of JAH. I was rather upset originally when they told me to reshoot. I decided that the best solution was to add product. I went wild putting product in that second shot. Lots and lots of product. The old Breyer barn (CMed of course) is in there, and their dolls, and even some Breyer horse poop made an appearance in that photo. It turned out well, but I don't feel it had the same romance and impact as the first. I'm also glad to see it was used. Makes all the hard work worth while.

The prototype and the new guy primed


The second good mail item that arrived was my second copy of Alborozo. I had a feeling this guy would be wonderful to paint and he really is. The second copy, which came in the official Breyer box with special gold stamping on belly, was paintined as pretty as the prototype. I sat and compared them before I started to prep. The dapples were pretty and nicely placed on the model and his color was just beautiful. Of course, I say "was" since this guy underwent change. So far, the painting process has been smooth and seamless and most importantly, fun. The amount of correct detail that Brigitte puts into her work is mind boggling. I'd love to hop into her mind for about five minutes while she is sculpting. She sculpts like we breath....effortlessly.

I decided to document his painting sessions and make some sort of tutorial out of it. Perhaps it will be published in JAH. Perhaps not. They seem to be using new people for their "How To" section here and there and I have not had an opportunity to have another pastel tutorial published this year. I do understand the need for new blood in the magazine, but still like to share a pastel article at least once a year. In any case, I'm taking lots of photos of the process before this boy is finished and goes up for auction. So, definitely stay tuned! ;)

Well, time to prepare for another day of family, friends and food.