Showing posts with label Mini Haggis. Show all posts

Saturday, February 4, 2012

It Took All Day...

Mini Haggis with his whites on


It took all day, but I finally got to finish on the Mini Haggis. This last step in painting Mini Haggis was simple (just add white) but very time consuming because of the intricacy of the pattern. In the end though it made for a very interesting piece. Overall, I'm very pleased with the way he came out and my favorite part are his hooves. They were nicely sculpted and great fun to paint. Even the underside of the one raised hoof was fun to add detail to.

Other side of the Mini Haggis


Hoof detail


And next....a Bitty Bosco
in buckskin going grey


"The Ribbon IV"
Graphite and Watercolor on archival bristol


"There is sacredness in tears. They are not the mark of weakness, but of power. They speak more eloquently than ten thousand tongues. They are messengers of overwhelming grief….and unspeakable love."

Wednesday, February 1, 2012

Mini Haggis (Part 4)

Reference is of an
extreme bay sabino.


So all the facial and body details have been completed on Mini Haggis and he's only about 50% done. He has a whole portion of painting that still needs to be done on him before he can go back to his owner. This portion is his white markings. He will be an extreme sabino and the amount of bay color I've placed on him is far too much, but I wanted to make sure I didn't miss any spots so the white markings will mimic the reference as close as possible. It's easier to go over the bay color with white than to add bay to small areas later on.

This reference only shows one side. I will have to turn the image around in my head and apply what is here on the horse. So basically both sides will get the same pattern except I'll vary the sides just slightly. I like to try and follow the reference as closely at possible.

Keep the reference at
hand for the entire session.


Even though there is a lot of white in this reference this pattern will still follow the natural hair pattern on a horse so I'll keep reference of hair patterns near by just to make sure I'm following things are realistically as possible.

To cover the work that has already been done the best paint to use is slightly watered down gesso. Water it down till it doesn't streak when applied to the horse. Too much water will create a very cloudy milky effect which we don't need at this stage. It will take approx 6-7 coats of white gesso to properly cover this horse. Once covered add Titanium white acrylics (at least 2 coats) on top of the gesso. Let everything dry for at least a day.

Water down the gesso
so no streaks show


"Tackle and Tumble III"
Graphite and watercolor on archival bristol.


“Even if you stumble, you’re still moving forward.”

Tuesday, January 31, 2012

Mini Haggis III

MIni Haggis ready for detailing


Previously on Mini Haggis II….

Fixatives crackled on the surface and most of the back and sides had to be sanded and repaired. After the repair was complete facial and coat details were then added using water soluble oils.

Water soluble oils are a breeze to work with because they blend like traditional oils, but clean up like acrylics. They can be used in conjunction with other media and dry quickly. I have also found them to be easy when I make a mistake. I just wash the unwanted area off with soap and warm water and start over.

Basically take a darker version of the main coat color and apply in small areas and blend using a dry brush. Color should blend smoothly. Add highlights last and let dry overnight. Repeat if necessary.

Previous posts on Mini Haggis:
Mini Haggis (Part I)
Mini Haggis (Part II)
Mini Haggis (Repair)

Apply detailing paint slowly


Darks and lights work
together to bring out sculpting detail


"The Ribbon III"
Graphite and watercolor on archival bristol


Let us be grateful to people who make us happy, they are the charming gardeners who make our souls blossom. ~Marcel Proust

Wednesday, January 25, 2012

Mini Haggis Repair

Paper palette with colors needed


Sometimes, for whatever unknown reason, fixatives crackle. There is no rhyme. There is no reason for this. It just is.

The night I worked on this "Mini Haggis" resin I was working on three other horses. All were getting pastelled and sprayed at the same time. Only one crackled. There was no reason for Mini Haggis to crackle. Nothing different was done to him. His coat just crackled under the application of the fixatives.

I freak anytime this happens because it's so random and makes absolutely no sense. The only thing to do is repair. Here is how I repaired him:

The first step was to let the horse dry fully. I let this guy dry for about an hour. After which I took a very fine sandpaper (wet) and proceed to lightly sand down the bumps of the crackled areas. The paint during this sanding DID come off. I let it come off. The only object at this point is to get the body as smooth as possible. Keeping the sandpaper wet helps reduce scratching on the surface of the paint.

Mini Haggis after sanding down
the crackled areas


This repair too approx.
6 coats of acrylics to cover


Once sanded several layers of acrylic paint were then added in just the damaged spots. For this bay I mixed burnt sienna, cadmium red medium and primary blue together to achieve the bay color. A hair dryer was used to dry each layer and make the repair go quickly. After which one more layer of pastels and yes, fixatives were used. The horse is now ready to continue with detailing work on the body in oils.

"The Ribbon III"
Graphite and watercolor on archival bristol


“The greatest treasures are those invisible to the eye but found by the heart.”

Thursday, January 19, 2012

Mini Haggis (part II)

Mini Haggis after approx 2
coats of dry pigments


The Mini Haggis had approx two days to dry after receiving a couple of layers of dry pigment. Although you can work on the piece immediately after the fixatives have dried, I always find that waiting at least 24 hours offers better results.

At the moment I am enjoying the fluidity and ease of clean up of Duo Aqua Oil colors which are produced by Holbein. These oil paints can be mixed with either water or oils and clean up with water. They basically "feel" like oils, but clean up like a water based paint. Oil paint is applied after the matte fixatives have dried and these applications help to deepen the color on the coat.

Mix up the next layer of color and slowly apply in patches to the horse. Take a dry blender brush (I prefer a square) and blend in the color till it is smooth. Keep working in small patches till the entire horse is covered. This piece will be an extreme sabino in the end so it's legs and most of it's belly will be white so there is no need to go crazy with coloring the barrel or lower legs.

Let dry overnight and add more layers the next day depending upon the richness of color desired. Use the same "small patch and dry brush" techniques addressed here.

Apply oil color in patches


Blend the oil outward onto
surrounding areas till smooth


Mini Haggis with
one coat of oils.


An Eberl "Bjalla" being
painted a dun. This is the third
layer of oils after 2 layers of dry pigments.


"The Ribbon"
Graphite and watercolor on archival bristol


"To love is nothing. To be loved is something. To love and be loved is
everything."

Monday, January 16, 2012

Deadlines & Publications

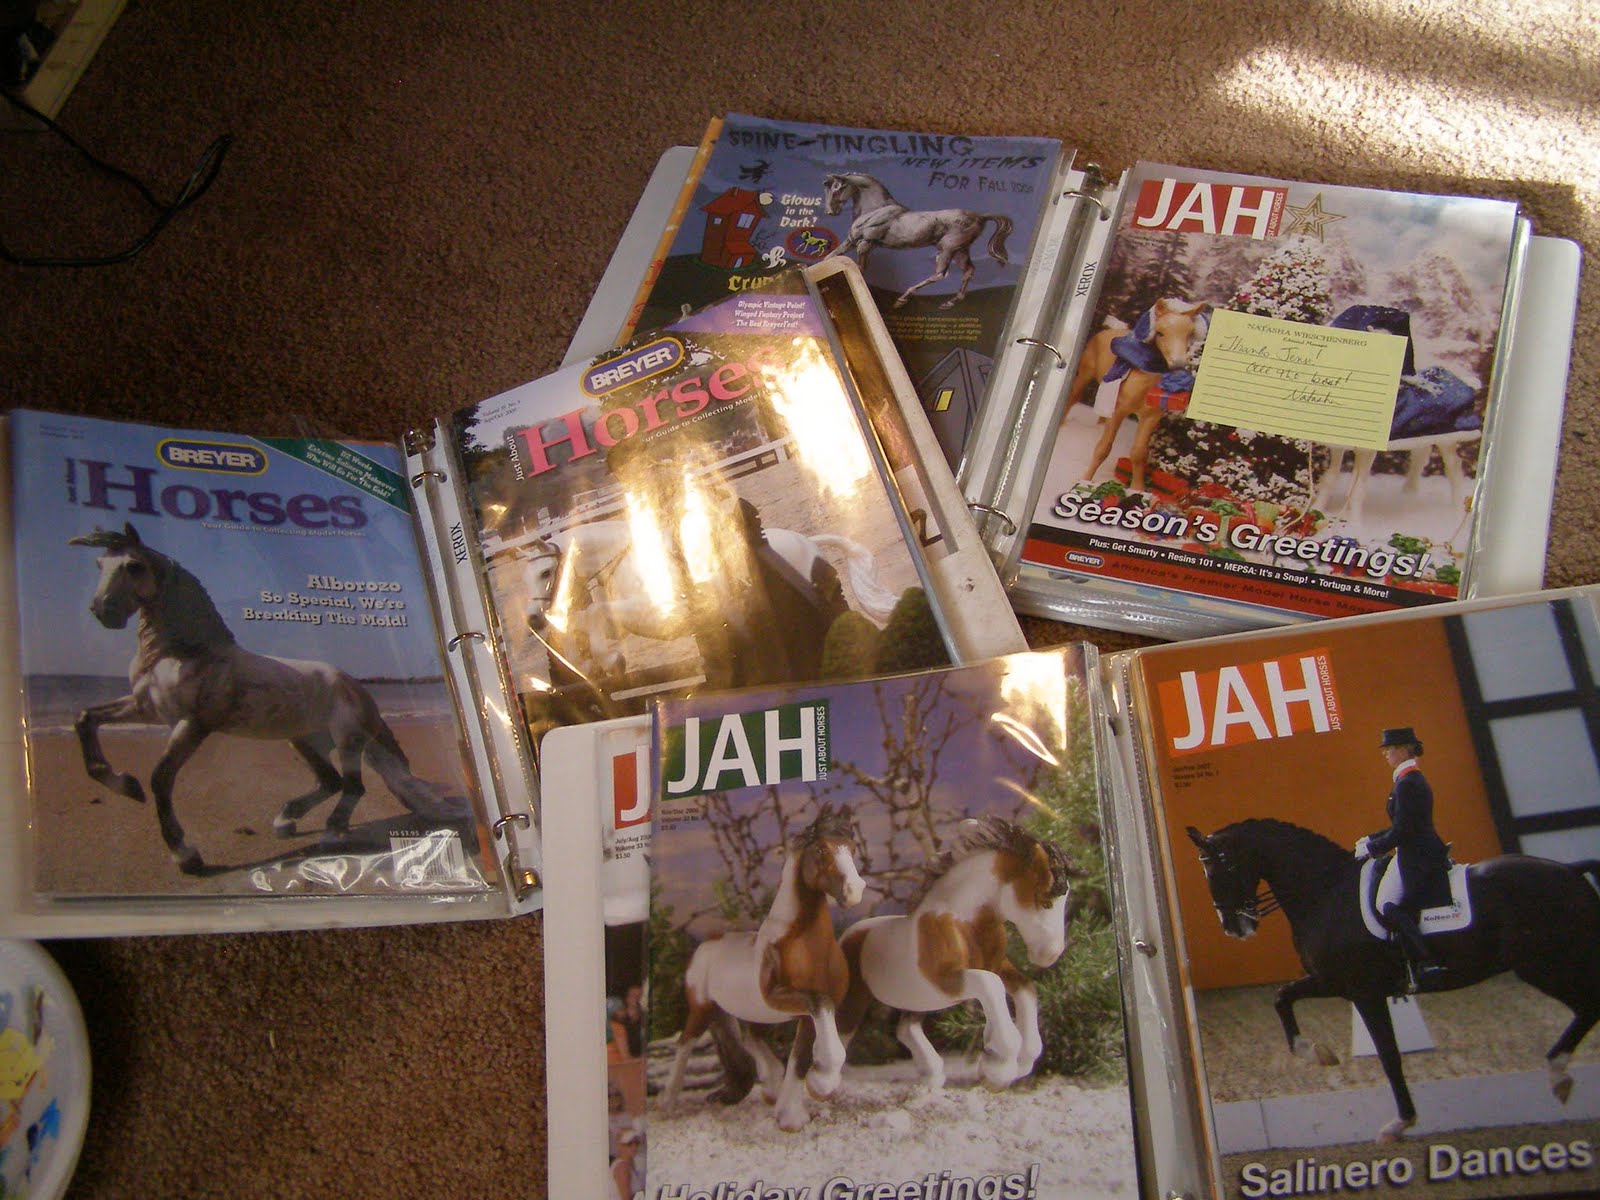
Binders for my Just About Horse Mags


Thirty some years Just About Horses was in publication. For seven years I was a part of that history and right around the middle of every other month I get into an automatic panic and think,

"DEADLINE!"

Today as I was pouring my morning coffee I got into a panic then remembered that I no longer had a pressing editorial deadline with Reeves International. There would be no more "how to's" for them for print (perhaps online if they need me...will announce when I am to be featured.) I love publications and paper and magazines and books and it hit me as of late, I sure miss writing for them.

I suppose in pulling out the old binders filled with the JAH's I've contributed to I decided to document the painting process of both the Mini Haggis and Indian Silver I'm currently working on for commission. My style has changed a great deal since I first started writing for JAH but the process in the beginning is pretty much the same: dust, spray with fixatives, dust, spray with fixatives and repeat till you get the desired color built on the resin. Oh and as always I must start by telling you to BE SAFE! Wear your masks at all times!

Hard to believe the mag
is no longer


So onward with two visual demos.

The Mini Haggis will be an extreme bay sabino and the Indian Silver will be a plain chestnut. Two sides to the spectrum and both difficult in their own right. The chestnut, of course, will pose the most problems and is already being true to form. It's a heavy resin and I have fingerprints all over the barrel. It's too late to fix as I sprayed the piece already. I will have to fix in the later stages, but will document how that is done. Basically, everything can be fixed. No matter how bad the damage it can all be fixed with patience, determination and of course, TLC.

Drafting table ready for
new ponies to be painted


First layers on a Mini Haggis resin


At this stage the pure pigment or crushed pastel (stick) dust is added to the prepped and primed (white) resin using a DRY paint brush. Once color is evenly distributed to the area Krylon Glossy Fixative is used to "lock" the color onto the surface. Once gloss is dry add a matte spray like Citadel or Testor's Dull Coat (which is no longer called Dull Coat but "CLEAR COAT). Let dry fully and continue to add more pigment or crushed pastel dust. Repeat the process. Both the MH and IS have received two coats of color at this stage.

First spray to adhere the pigments

First layers on an Indian Silver resin


"Love is a fruit in season at all times,
and within reach of every hand." ~Mother Teresa